The Amazing Sta-Wet Palette and Paint Box for Acrylic Painters

I have been painting with acrylics for 20 years but have only recently discovered a system that has completely revolutionized the way I paint. I am excited to share this with you because I know it will help you be more efficient and a happier Acrylic artist. This system solves age-old problems with Acrylic paints. Let's dive in!
The (Small) Problem With Acrylics
Most Acrylic artists do the same few things when it comes to finding a palette. They find a surface to squeeze their paint onto. This could be any number of things; a paper plate, wood, a plastic palette or even glass. They grab paint from this palette and they also mix their colors on this palette. This works to an extent - but you soon run into the classic problem Acrylic artists everywhere face.
Acrylic paints dry fast. Especially if you're painting outside and your paint is exposed to the elements. Unfortunately I painted like this for many years. I hated how much paint I was wasting. Once I had mixed a color on my palette, I couldn't get any more of it because it had all dried out! All that hard work mixing the perfect color wasted. How was I going to keep my paint wet?
Enter: The Masterson Sta-Wet Palette

One day, still stuck battling dry crusty paint, I saw someone using the Masterson Sta-Wet Palette. People raved about it. They said it transformed their Acrylic painting experience. So, I decided to give it a shot. It was incredible. Let me explain how it works.
The Masterson Sta-Wet Palette comes with three components. 1) A sponge. 2) A piece of palette paper. 3) The palette and 4) A lid for the palette.
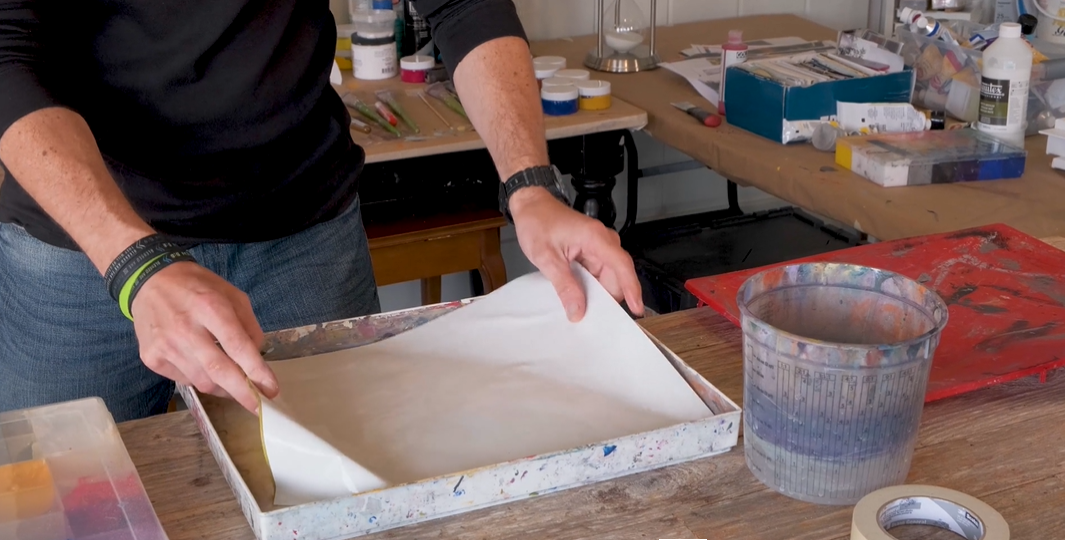
How do you use it? Easy. Step 1) Wet the sponge and put it inside of your palette. Step 2) Put the palette paper on top of the sponge.
The water will soak through the sponge into the palette paper and keep your paints wet for a long, long time. No more saying goodbye to that beautiful green you mixed as it shrivels up into a crusty mess. If you need to move your palette, just put the lid on top and your beautiful mixtures will stay wet for even longer!
There was still one more thing I needed to change in my painting process. If I squeezed large globs of paint onto the palette, they got runny after awhile. That's where the final piece of this amazing new system comes in.
Discovering the Paint Box
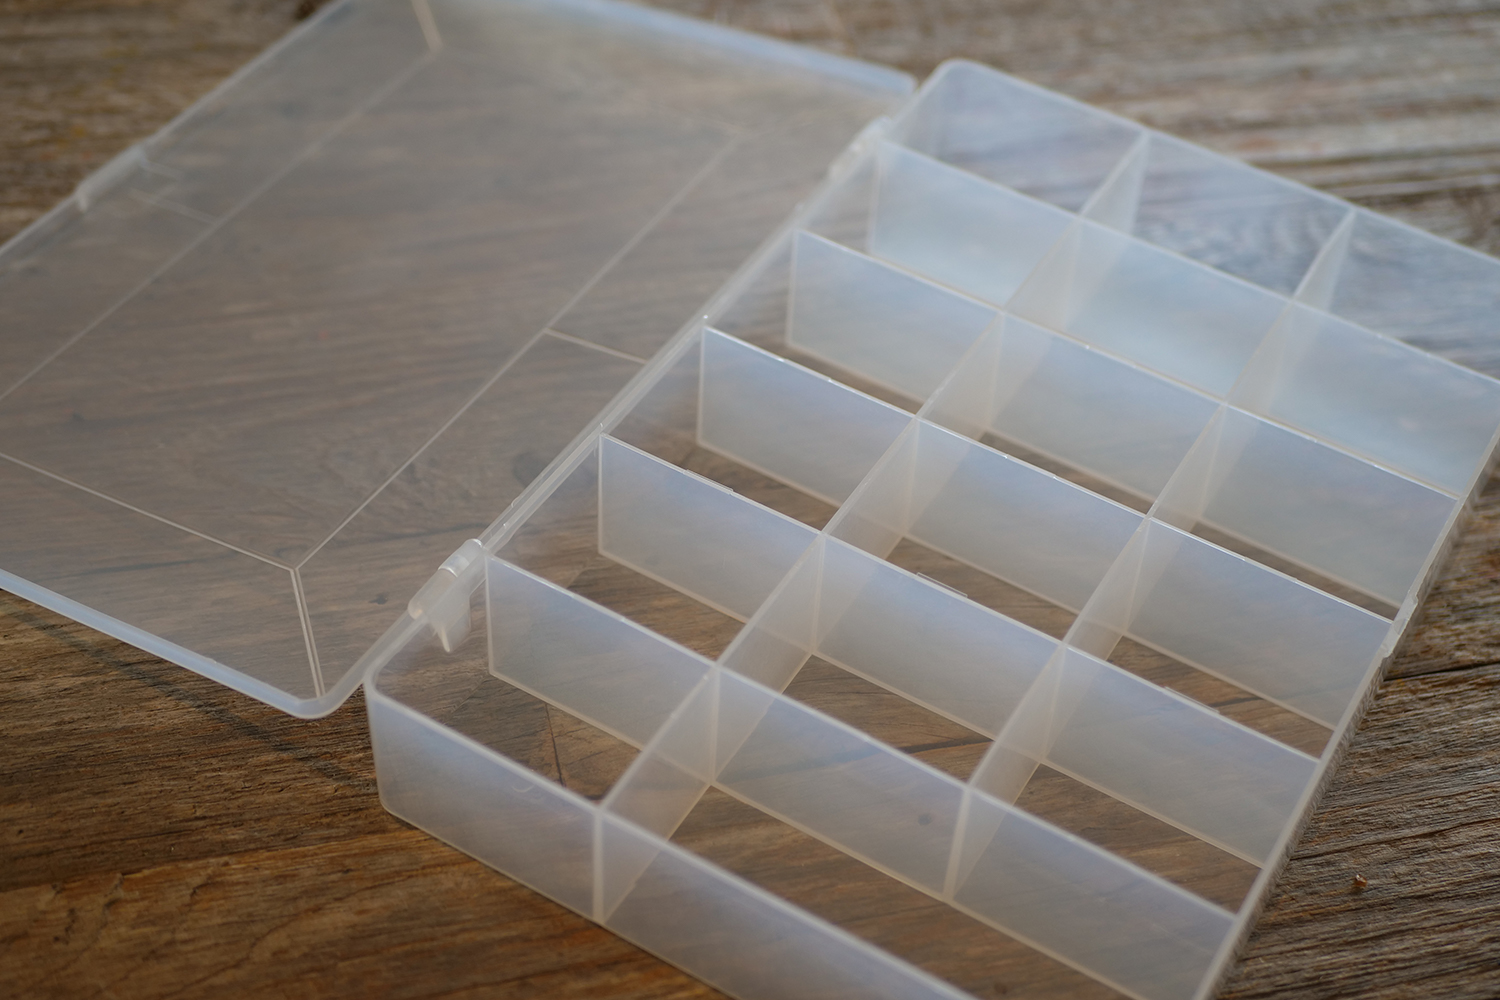
Then I discovered the paint box. What was it? It was simply a re-purposed bead box that I squeezed my paints into. The first time I tried it was at a plein air painting competition. It completed my journey to perfect the Acrylic Painting experience.
Instead of squeezing my paint into large globs on the palette, I pulled paint from my paint box and mixed it on the Sta-Wet Palette in small quantities as needed. The palette became more of a mixing surface than a place to put large quantities of paint. No longer would runny paint leak all over my palette.
I stored my paint inside of the paint box for easy access. The smaller quantities of paint on my palette stayed wet for hours. If I needed a break from my painting, I could simply snap the lid on and walk away. My color mixes would be ready for me when I came back.
Setting Up Your Paint Box
So where should you put your colors in your paint box? I like to set my paint box up the same way a color wheel is set up.. Here is a picture showing how I set up my box:

This is what I recommend for a beginning Acrylic painter. Actually, scratch that - this is what I recommend to every Acrylic painter. You can mix almost every color imaginable with these few colors. Why bother buying and worrying about tons of colors when you can use this simple palette? Here is the list of colors used in this box:
- Cadmium-free Yellow Light – cool yellow
- Cadmium-free Yellow Deep – warm yellow
- Cadmium Red Medium – warm red
- Quinacridone Magenta – cool red
- Phthalo Blue (green shade) – cool blue
- Ultramarine Blue (red shade) – warm blue
- Titanium White
- Mars Black
- Neutral Gray
You can find all of these colors by clicking right HERE

I like to have a double portion of white because I use more white than any other color. I mix it a lot with other colors. This paint box has removable dividers which make this possible. If your paint box does not have removable dividers you can just fill two spots with white.
When filling up my paint box I will squeeze an entire 2 oz tube of paint into one slot. To get started with Acrylic painting, this is really all you need to buy. A 2 oz tube of paint will last you a long, long time. It's been months since I last refilled my paint box!
But Jed, how do you keep your paints from drying out in the paint box? Because the paint box is airtight, the paints will stay fresh for a long time. I have a paint box that's over a year old. Some of the paints are a little dry but if I mixed a tiny bit of water in I could easily continue using them! I also periodically open my paint box and mist the top of the paints using a spray bottle to keep them fresh.
Setting Up Your Sta-Wet Palette
The Masterson Sta-Wet Palette comes in a couple different sizes. I use the 12x16 size, but you can also use a mini size if you'd like! The palette has a lid which fits nicely on the top of the palette and keeps the paint wet. There is a sponge on the bottom and special type of paper that is placed on top of the sponge. When you buy the Masterson Sta-Wet Palette, it sometimes comes with a sponge and a few sheets of “palette paper.” If you are buying these items separately make sure you buy the correct size for your palette.
Place a piece of palette paper on the bottom of your palette.

Put the sponge on top (this will hold down the paper during this process).
Pour hot water on top of the sponge (the water will soak into both the sponge and the paper). You can also mix a tiny bit of peroxide in with the water to keep your palette from getting a moldy smell.

Let sit for 5 minutes.
Pour water from corner of palette into a water bucket (you will get most of the water out this way).

Flip the paper and sponge over so that the paper is now on top (the grid looking part of sponge should be facing downward and resting on bottom of palette).

Drain the remainder of the water from a corner of the palette into a water bucket. (There will be much less this time).
Pour water from the opposite corner of the palette into a water bucket (do this while counting to 10 and then stop. There should only be a small trickle this time).
If there is too much water in your palette, your paints will become too runny. If there isn’t enough water the paper and sponge will dry up which will cause your paints to dry up to. It sounds tricky but it's actually very easy to set up properly!
Once you're all set up, you can grab paint from your paint box and start mixing colors on your palette paper. You can leave your palette open for hours at a time without any problem. Just make sure to put the lid back on your palette on if you leave for an extended period of time!

When you are done painting for the day, I recommend spraying the paint on your palette with water. When you return for another painting session they'll be ready for you to use! You may also want to lightly spray the paint in your paint box.
Overall, this system allows you to A) save money because your paints will stop drying out and B) it will save you time when you are setting up to paint because you won't need to squeeze paint out of the tube every time. Also, once you get into the rhythm of painting this way, you'll know exactly where to reach with your paintbrush because your paints will be in the same place every time!
The Masterson Sta-Wet Palette in tandem with the paint box was a total lifesaver for me and I know it will be for you too. I can't even imagine painting in Acrylics without them! You can pick one up for yourself by clicking here.
Next: Acrylics vs Oils - Why you will LOVE painting with Acrylics
Stay connected with news and updates!
Join our mailing list to receive the latest news and updates from our team. You're information will not be shared.


