How To Glaze Your Acrylic Paintings

Hey Friends!
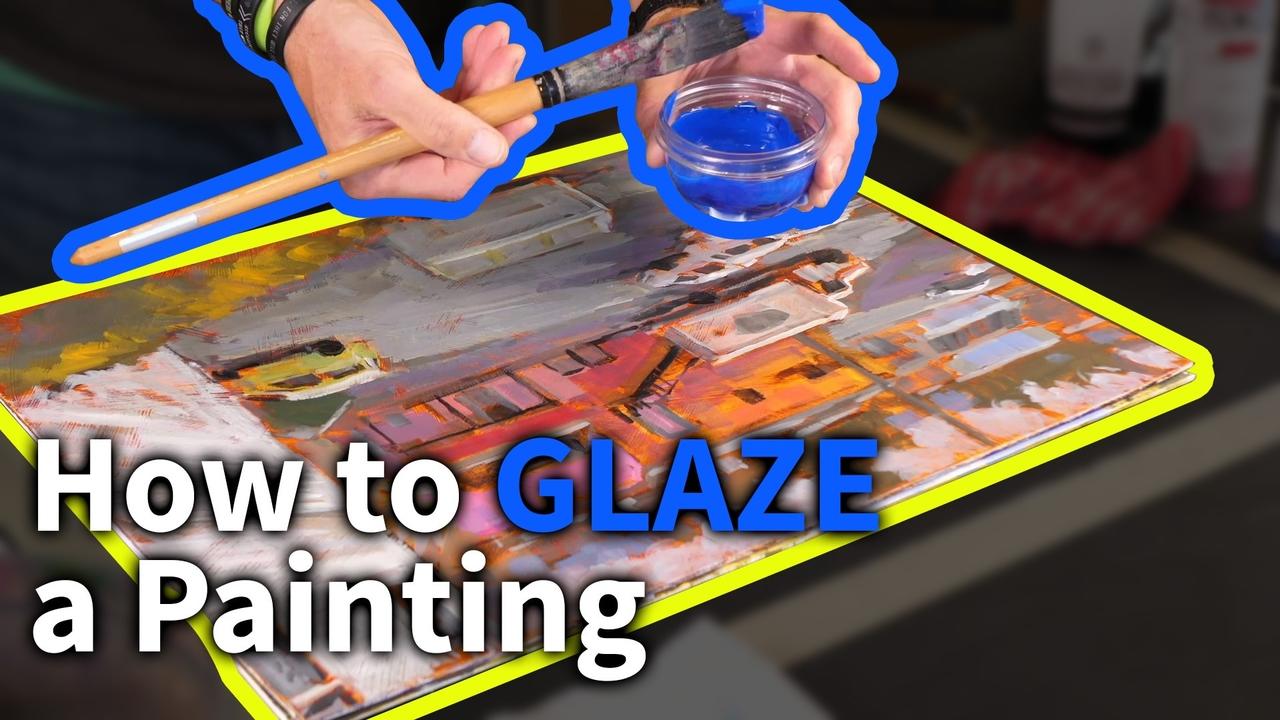
I wanted to share a little bit about glazing. It’s a question that I get asked a lot when it comes to painting, so we’re going to talk briefly about what supplies you need to do a glaze and why you would want to do one in the first place.
Glazing is a powerful technique and can be used in creative ways to bring your paintings to life. I’ll show you two examples of glazing two different ways to do a glaze. There’s more things you can do, but these will be two general ideas that can get you started, and you can experiment more with other colors, etc.
All the supplies mentioned have a clickable link for convenient purchase.
Supplies
So let’s take a quick look at what we need. You’ll need something like THIS medium right here:

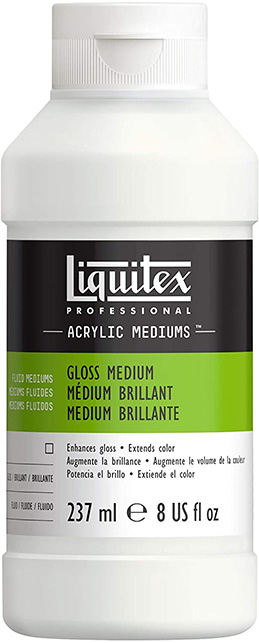
This is a satin glazing liquid so it’s specifically made for glazing but you could also use something more like this:

Which is just gloss medium and varnish. All of these are great for glazing. It’s important to have some sort of glazing liquid, medium or varnish for a glaze. Why? If you don’t use something like that and just mix your paint with water, the paint will tend to come off the canvas. It won’t really stick to your painting. The glazing liquid / medium / varnish is there to help your paint stick to your painting and not become watery.
You’re also going to need a color of paint or else you’re just going to be putting something totally transparent over the top of your painting and nothing much will change. For this example I’m using Golden Phthalo Blue (Green Shade) Liquid Acrylics. You can use Heavy Body Acrylics as well, you’ll just have to thin your paint down more in later steps. The important thing is to use a transparent hue. (You can check to see whether a paint color is transparent or not by checking your paint tube).
So, right here I have this little cup to mix in. I’m going to use a palette knife to mix things together. You’re also going to want a rag or paper towel (this is super important). And finally, you’ll want something to apply it to your painting. I’m using a bigger brush.
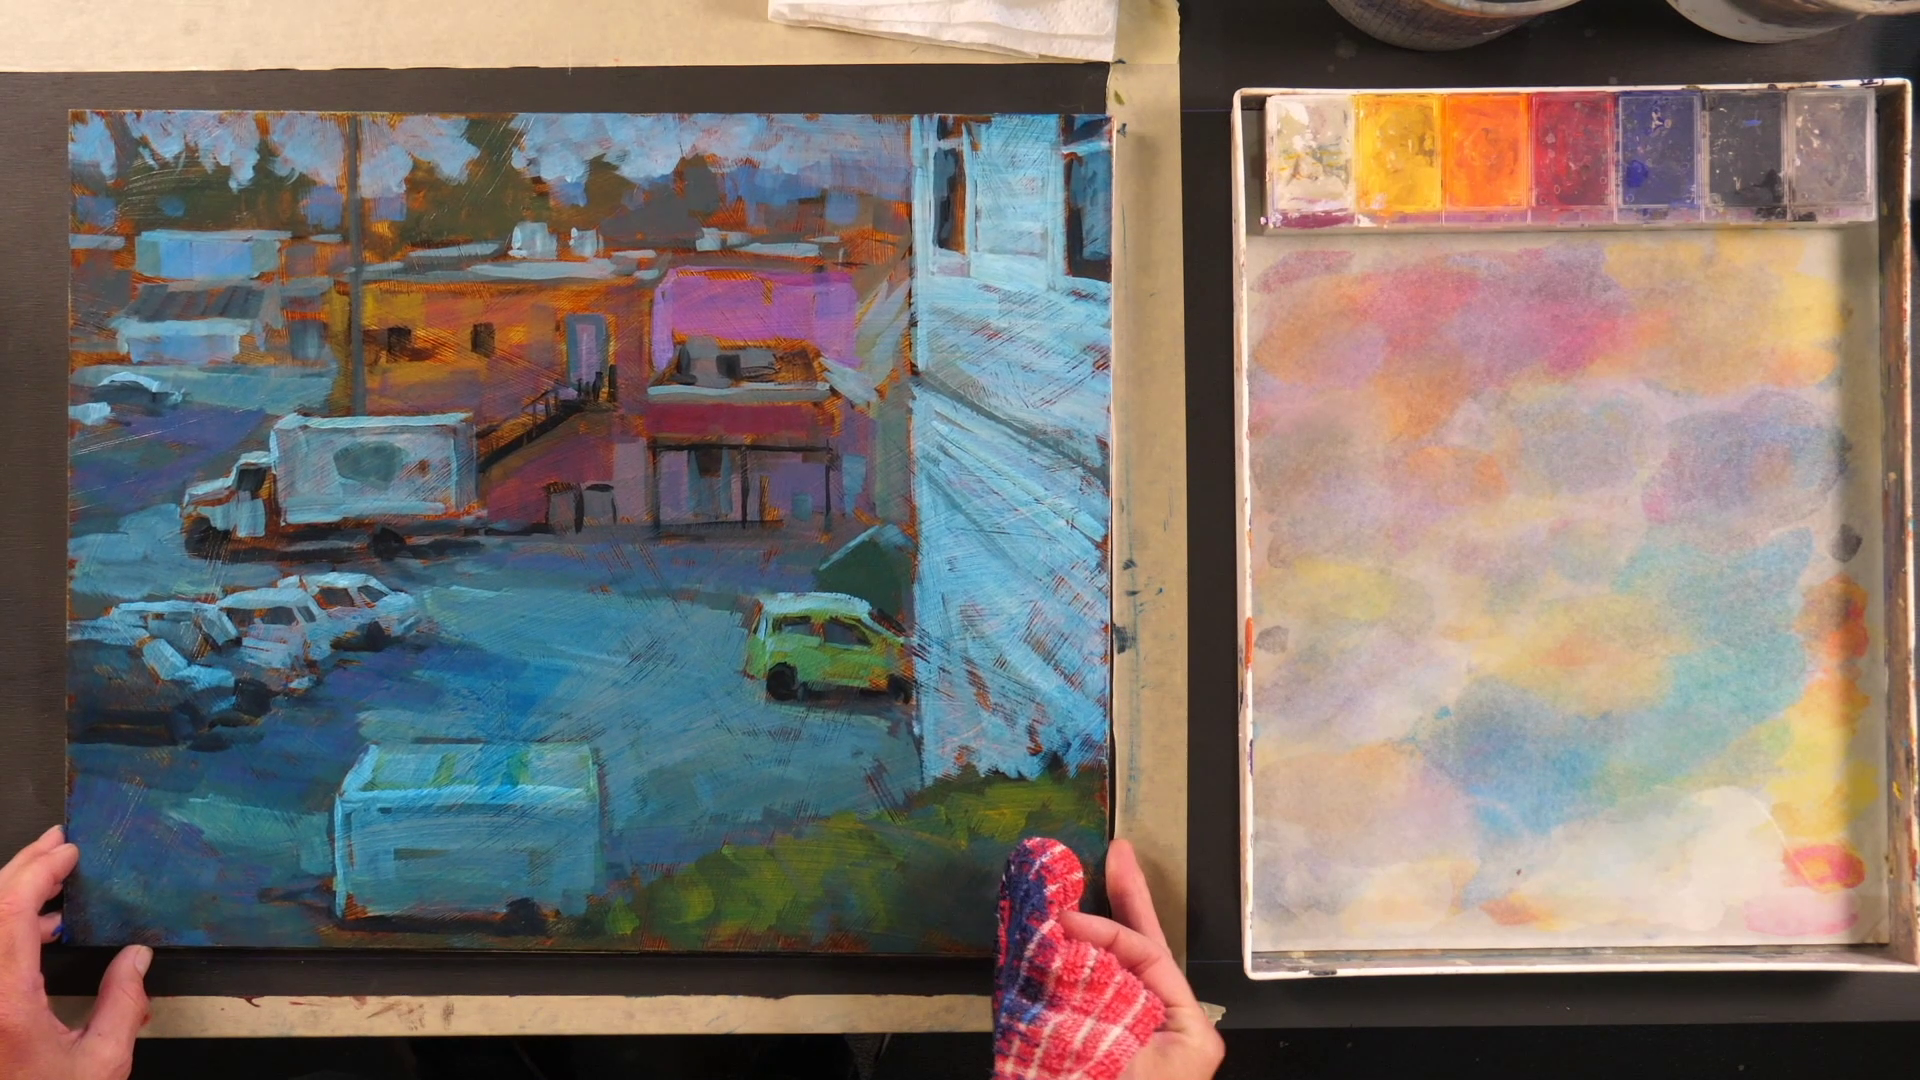
I’m going to be doing two different glazes on top of two different paintings. Both of these paintings were painted outside. This painting is a painting that has a ton of oranges in it and I’ll be cooling it down a bit using a Golden Phthalo Blue Fluid Acrylic:

This painting was painted in the mountains and is a very cool scene. I’m going to be using a Golden Quinacridone Gold Fluid Acrylic on this painting and actually warming it up a bit:

These two glazes will have two different effects.
Mixing the Glaze
Now, we’re going to actually create the glaze for our first painting by mixing ingredients together. For our first painting, I’m going to mix glazing liquid, water and Phthalo Blue together in this bowl. Robert Genn always had a rule of ‘A third, a third and a third’ meaning a mix of 1/3 glazing liquid, 1/3 paint and 1/3 water. However, you can mix any amount of glazing liquid with any amount of paint. It’s just up to you to decide how much pigment you want in the glaze. Add more glazing liquid if you want a more transparent glaze. Add more paint if you want an opaquer glaze. Once we’re done mixing we’re going to have a mix that’s pretty thin. It’s not as solid as even our normal Fluid Acrylics.
Now let’s get started with the glaze on this first painting. It’s important to know that part of a glaze is knowing how much to put on and part of it is knowing how much to take off. That’s why we have a rag with us because we’ll be removing a lot of the glaze we put down initially. I’m going to dip my brush and start glazing the painting:

You can see that it’s definitely got some transparency to it! I can see through the glaze to the painting beneath, but it’s changing the feel of the painting completely. Phthalo Blue is a very strong color – it shouldn’t be taken lightly. What it’s going to do is unify the feel of the painting. Sometimes with your paintings you can lose your color harmony. Something went wrong and now you have a wacky color harmony going on! Glazes can help solve this problem by uniting the colors of your painting together.
Remember when I said part of a glaze is knowing how much to take off? Honestly, what you take off is way more important than what you put on in most cases. I’m going to take my rag and remove some of the glaze. I’m going to leave more Phthalo Blue in certain areas than others.

After my first pass, I’m still not totally satisfied with my glaze so I’m going to wet my rag so I can take even more of the Phthalo Blue off. At this stage, it’s important to know exactly where you’re going and what your goal with the glaze is so that you stop before you take away too much of the glaze.

If you do take too much of the glaze off you can always let it dry, come back later, and add another glaze.
Let’s move onto glazing this mountain scene. I’m going to first mix Quinacridone Gold and Quinacridone Red together in my bowl. Then I’ll add glazing liquid to the mix. I’m going to be left with this nice and thin mixture.

This glaze is going to WARM this painting up. It’s going to make it really feel like the sun is shining. After my first application, I’m left with this:

And you don’t HAVE to take any of your glaze off if you don’t want to. If you’re satisfied after you add your glaze, leave it there! There’s nothing that says you have to take glaze off. However, for this example, I’m going to remove the glaze only from a couple places. 1) The sky 2) The background mountain and 3) the snowbank in the middle ground. I'm going to leave the glaze on the trees because I really like the warmth it creates.

You can wipe off sections. You don’t have to wipe it all off. There’s lots of cool stuff you can do with a glaze.
Now, usually, I find that the glaze affects the color of the painting so much that I usually open my paints and add a little more variety back into the painting. I often finish my painting with fresh paint above the Glaze. For example, with this painting, everything has an orange-y yellow-y hue to it and usually I want to go back and make some final adjustments. This will finish off the painting in such a beautiful way. You can see how I added some white to the snowbank.

I didn’t finish adding paint to it for today’s example, but I hope you have a basic understanding of the process.
Summary
So that is how to do a glaze and how it affects your painting! In summary you need:
- The paint can be heavy body acrylics or fluid acrylics
- A medium. This is the important part. You need something transparent and clear.
- Water
You’re doing a glaze to unify your painting or to change the temperature of the painting. When I did the Phthalo Blue wash on that first painting, it almost made it look like an evening / moonlit scene at first even though it was painted during the daytime! You can do so many cool things with glazing. You can do this with opaque colors, but it won’t work the same as if you used transparent colors. You just need to know which colors are transparent. You can figure this out by looking on the back of your paint tube. Often they’ll have a little thing that says whether the color is opaque or transparent, so make sure to go with a transparent color.
I hope that was helpful for you and I hope that you have a better understanding of this awesome tool. It’s a really fun, powerful technique that you can use in some really creative ways. See you friends next time!
Supply List
- Golden Liquid Acrylics Quinacridone Gold
- Golden Liquid Acrylics Phthalo Blue
- Liquitex Gloss Medium / Varnish
- Satin Glazing Liquid
- Transparent Mixing White
Previous Post: What Color Canvas Should You Paint On?
Stay connected with news and updates!
Join our mailing list to receive the latest news and updates from our team. You're information will not be shared.

